Introduction
Note: We now recommend hard wiring your edge device (whenever possible) for resilience.
This article offers step-by-step instructions for installing a MachineMetrics Wireless Edge Device on your machine. A PDF version of this guide is available at the bottom of the page. If you prefer a video walkthrough, you can hit play on the embedded tutorial video.
IMPORTANT! It is recommended that you first prepare your network before installing your Edge Device. Before your Edge Device can communicate with MachineMetrics, you need to make sure your network settings have been configured properly to allow outbound access to machinemetrics.com. For detailed instructions, please reference the following Knowledge Base article: Integrating MachineMetrics Through a Wireless Network.
Topics covered in this article
This article contains the following topics:
- Video Tutorial: Wireless Edge Installation
- The MachineMetrics Edge Kit
- Edge Device Anatomy
- Edge Device Installation
- Next Steps
Video Tutorial: Wireless Edge Installation
The MachineMetrics Edge Kit
Upon finalizing your contract with MachineMetrics, a MachineMetrics Edge Kit will be shipped to you for each individual machine you plan to connect through a wireless network. An edge kit contains a MachineMetrics Edge Device along with all of the necessary components to establish a secure, wireless connection with MachineMetrics. NOTE: The WiFi antennas must be installed in order to establish a Bluetooth connection to configure your Edge Device.
As a first step, open your Edge Kit and ensure it contains all of the numbered items listed below.
Components
- MachineMetrics Edge Device - imaged and activated
- WiFi / Bluetooth Antenna (2ea)
- Rhino 100-240v AC to 24v DC Power Supply
- 3M dual-lock adhesive velcro strips
- Antenna Extensions (2ea)
- 25' Ethernet Cable
- Pigtail Power Cable
- Connectors
Visit this article for a list of our Hardware Kit and Connection Schematics.
Tools Needed
The following tools are not provided but will be required for a successful installation:
- Screwdriver
- Wrench
- Drill
- 1/4" Metal Cutting Drill Bit
- Wire Strippers
- Wire Crimping Tool
- Multimeter
- File
- Set of Hex Head Wrenches
Edge Device Anatomy
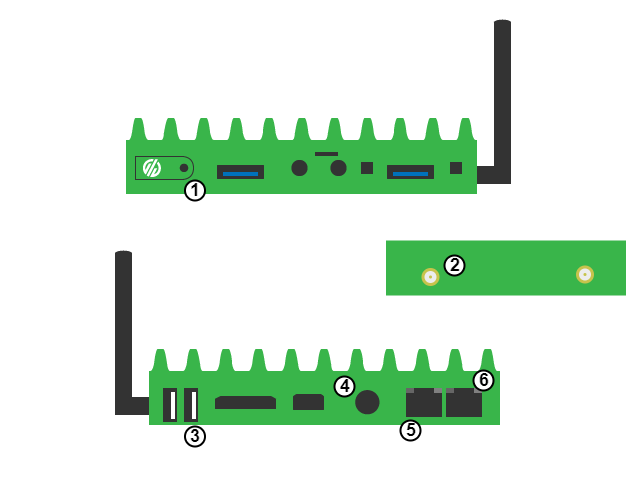
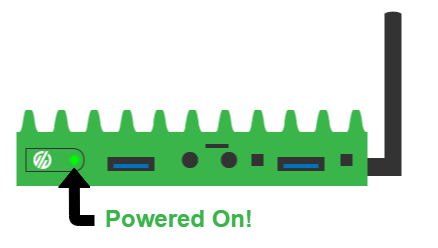
- Power button and power indicator light
- WiFi antenna connections
- USB Connections
- Locking Power Connection
- Ethernet Port 1
- Ethernet Port 2
Edge Device Installation
IMPORTANT! Before you install the edge device in your machine, it’s important to write down or take a picture of its serial number. You will need the serial number in order to register the Edge Device, as well as to keep track of which Edge is associated with which machine. It is located on the bottom of the edge device.
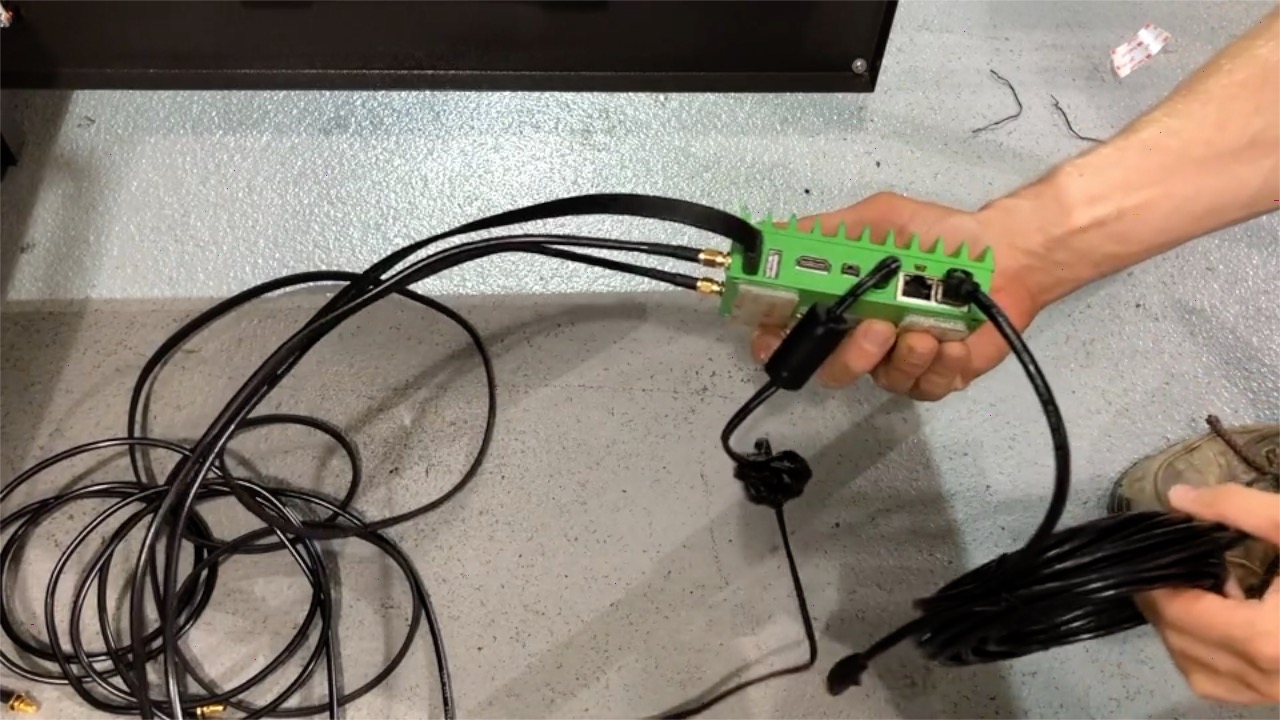
1. Your Edge Kit comes with two pieces of 3M dual-lock adhesive velcro strips to help affix the edge device to your machine cabinet. Apply the adhesive to the Edge Device and make sure they have a strong seal.

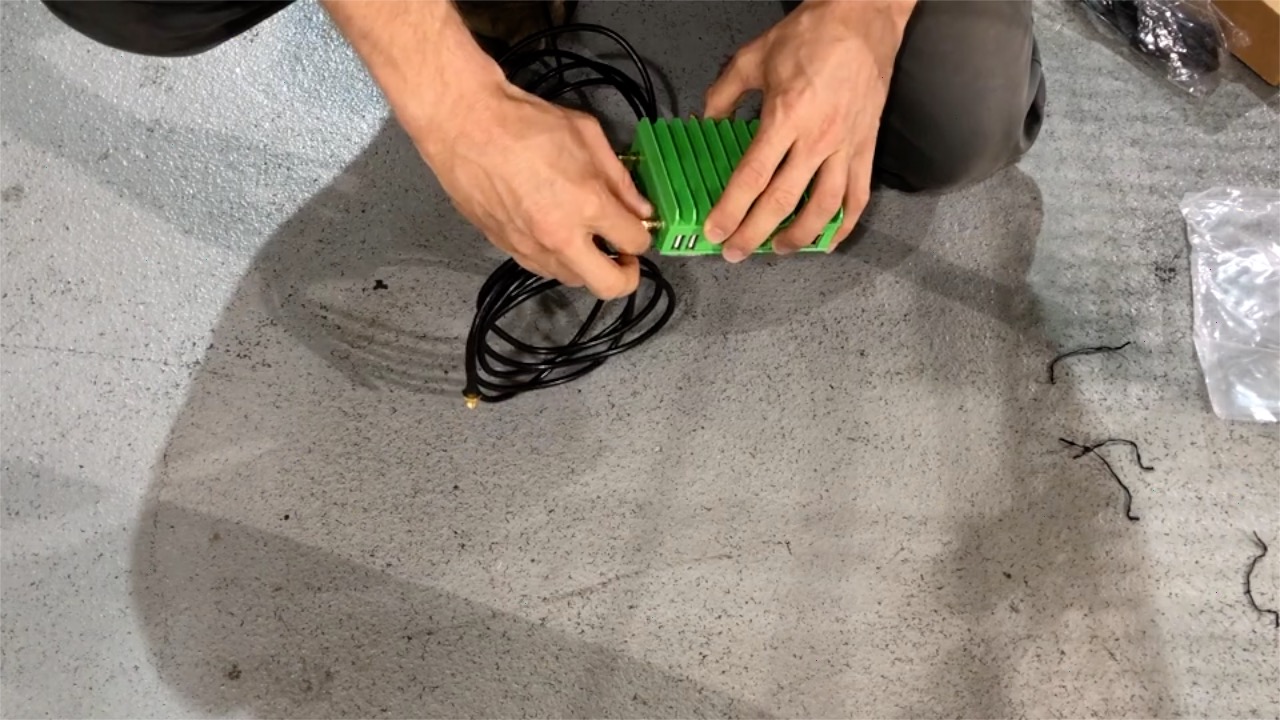
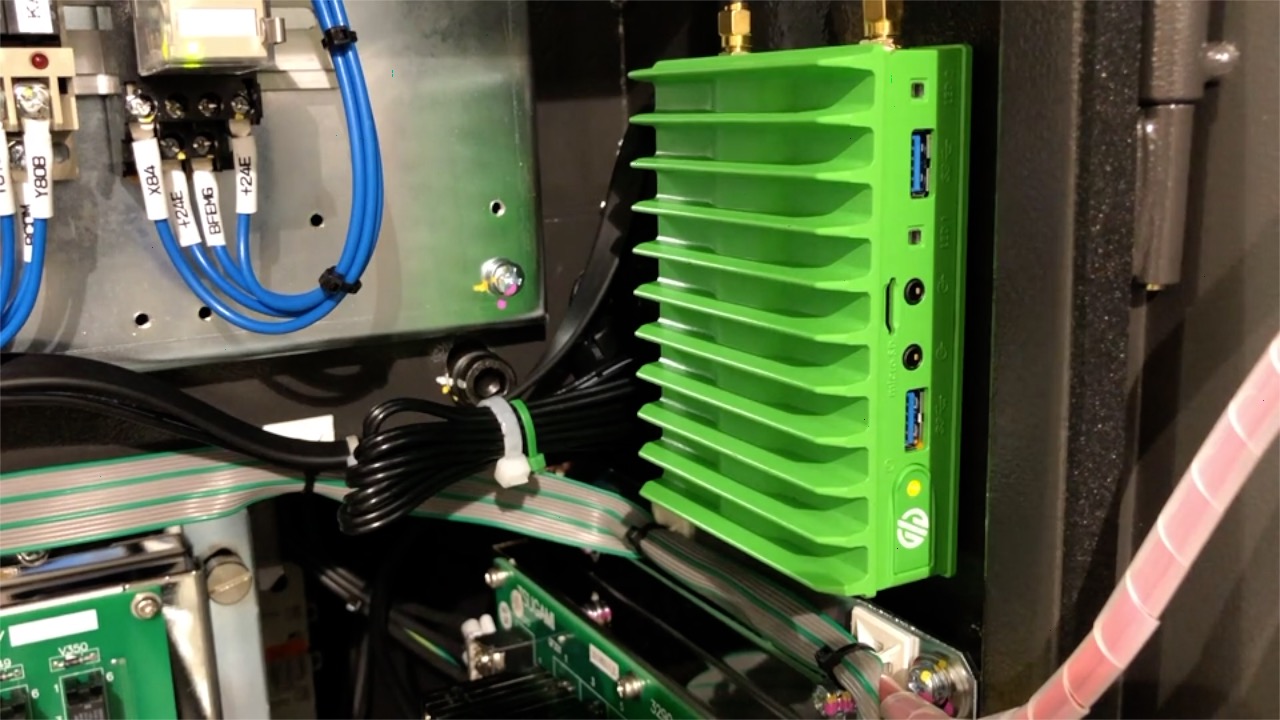
2. Attach the antenna cables to the Edge. Make sure the connection is secure and they are fully tightened, otherwise your Edge device may have signal issues.
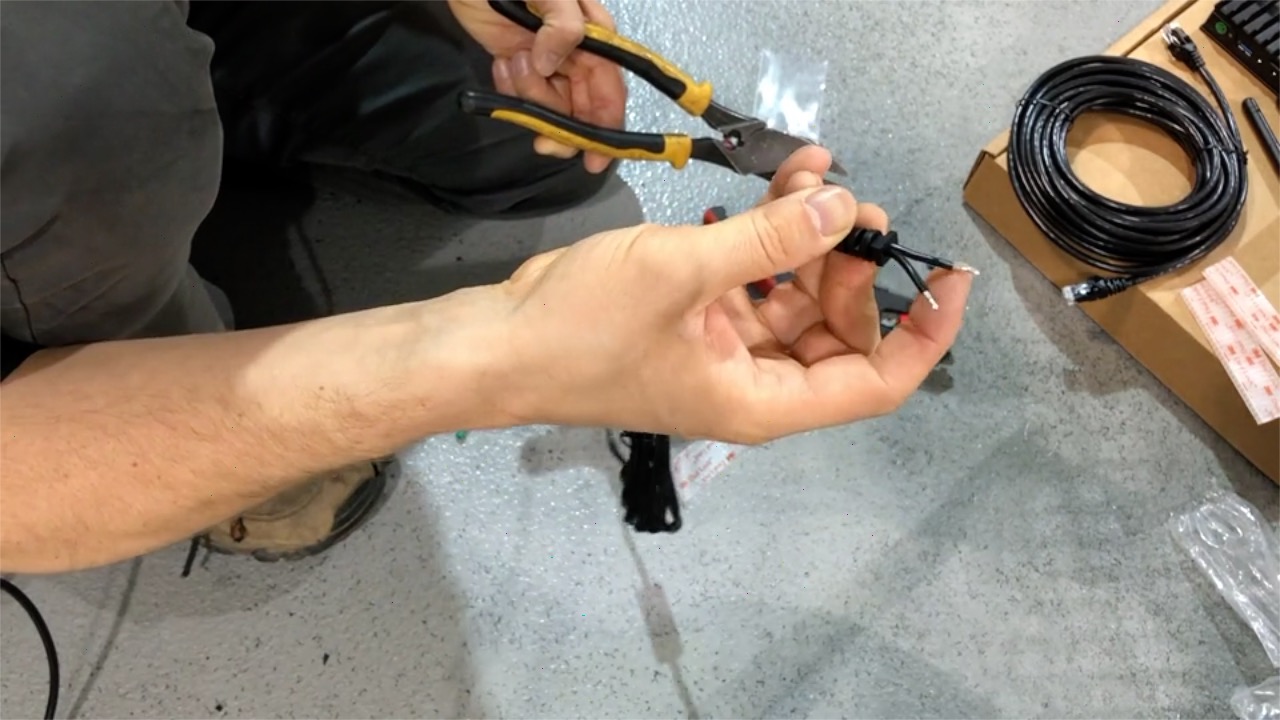
3. Take the power adapter and attach the fork connectors to the pigtail. The lead with the white strip is positive 24VDC, and the black lead is negative 24VDC.
4. Plug the power adapter into the Edge Device.The power cable has a screw lock, so that you can be certain it stays in place.
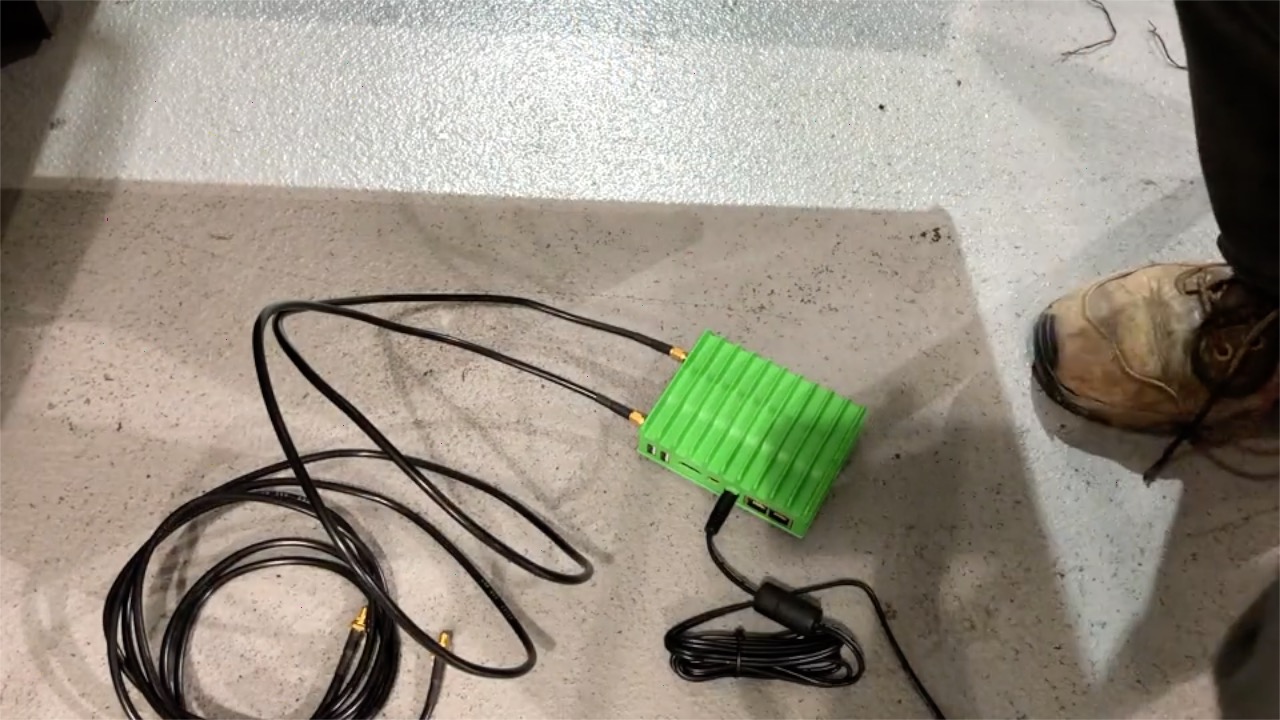
5. Plug the ethernet cable into the Edge Device’s outermost ethernet port.
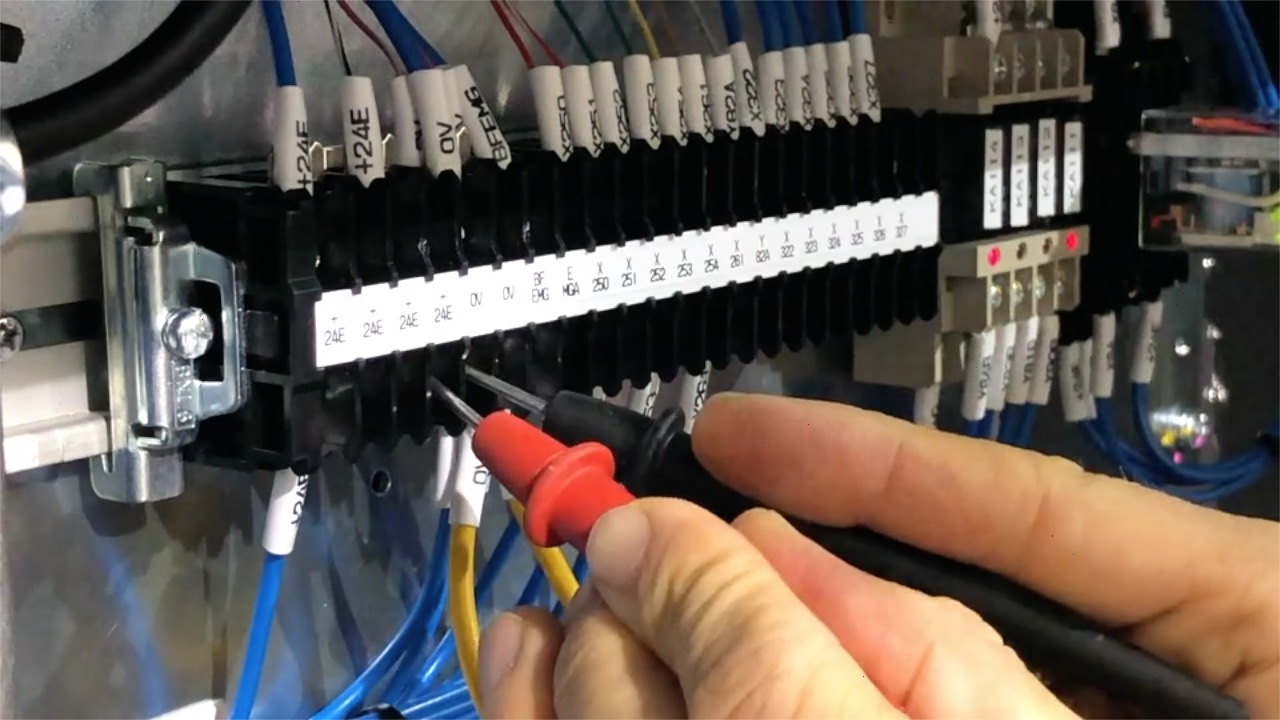
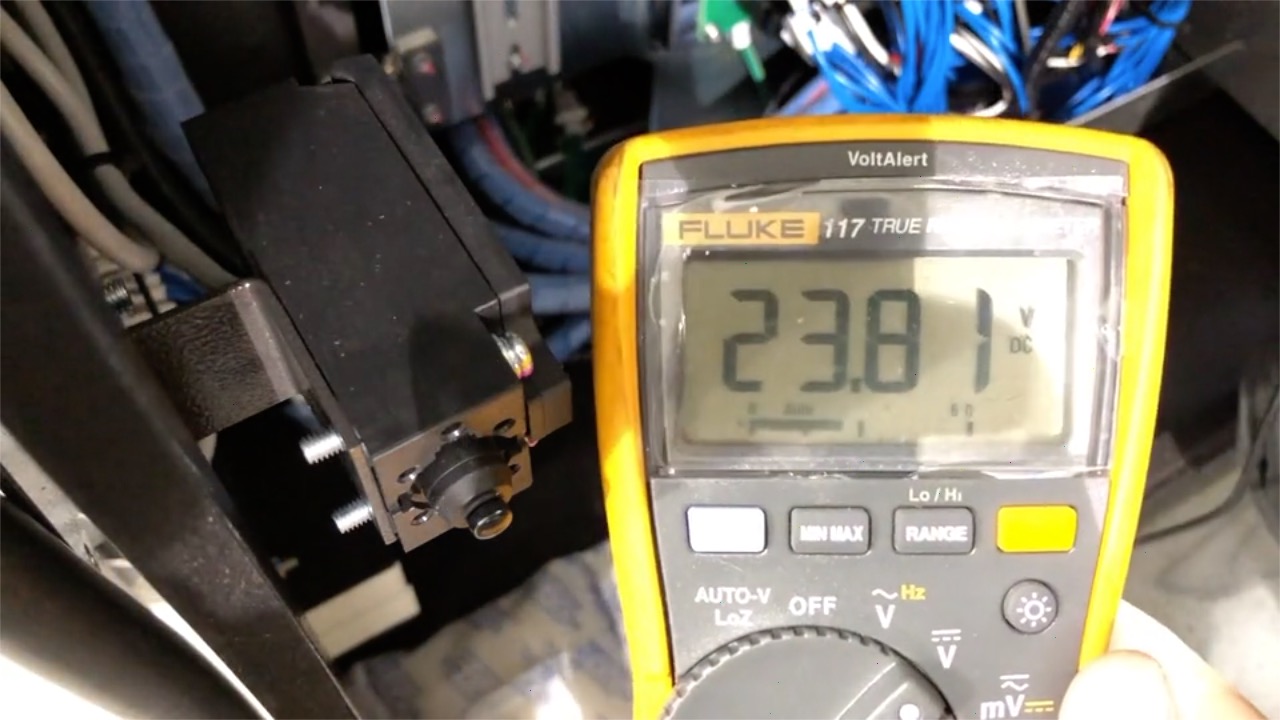
6. From the Machine’s terminal block, use a voltmeter to ensure you are getting approx 24 volts.
7. Power off the machine
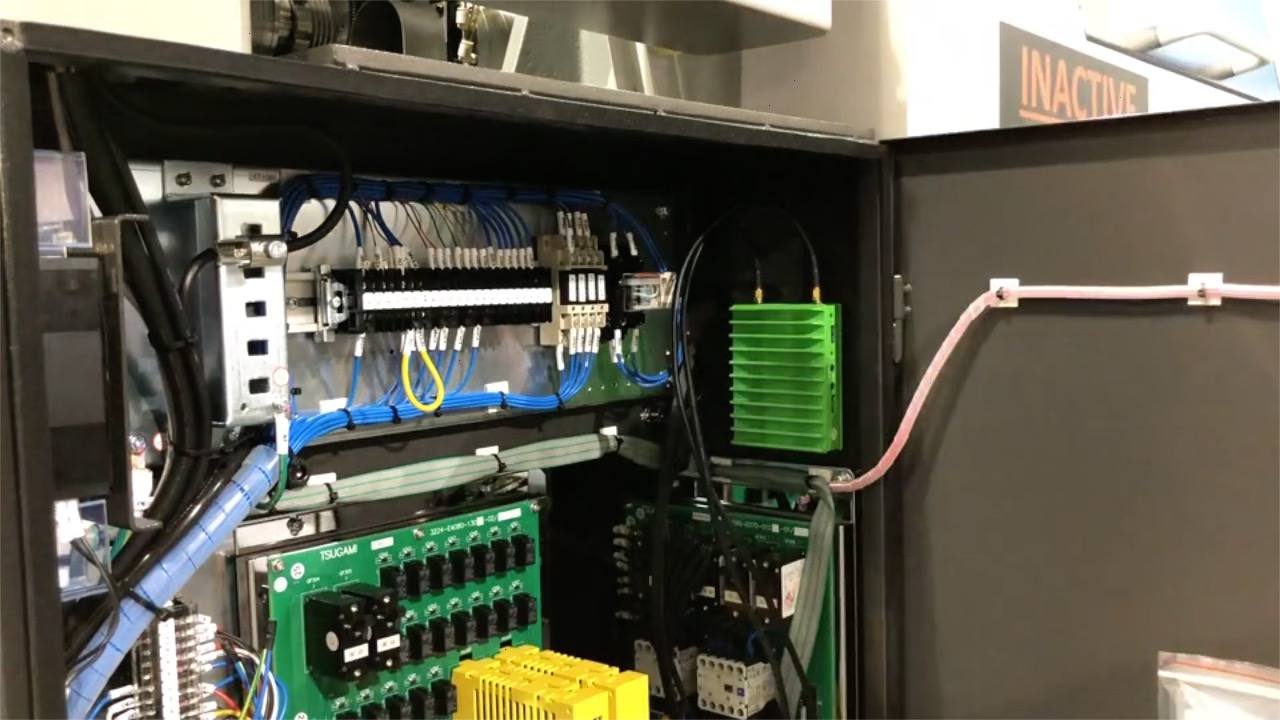
8. On your Edge Device, peel off the outer adhesive on your velcro, and attach your edge device inside your machine’s electrical cabinet. Choose a spot that is a nice, flat surface close to your cable trays where you can run your cables and is far away from high voltage parts. Be sure the surface is thoroughly cleaned and free of oil. Take a moment to secure any cables and keep the electrical cabinet in order.
9. Connect your edge device to a power source by running the fork terminals to 24V on the terminal block. Connect the positive pigtail to 24V on the terminal block, and connect the negative to 0V.
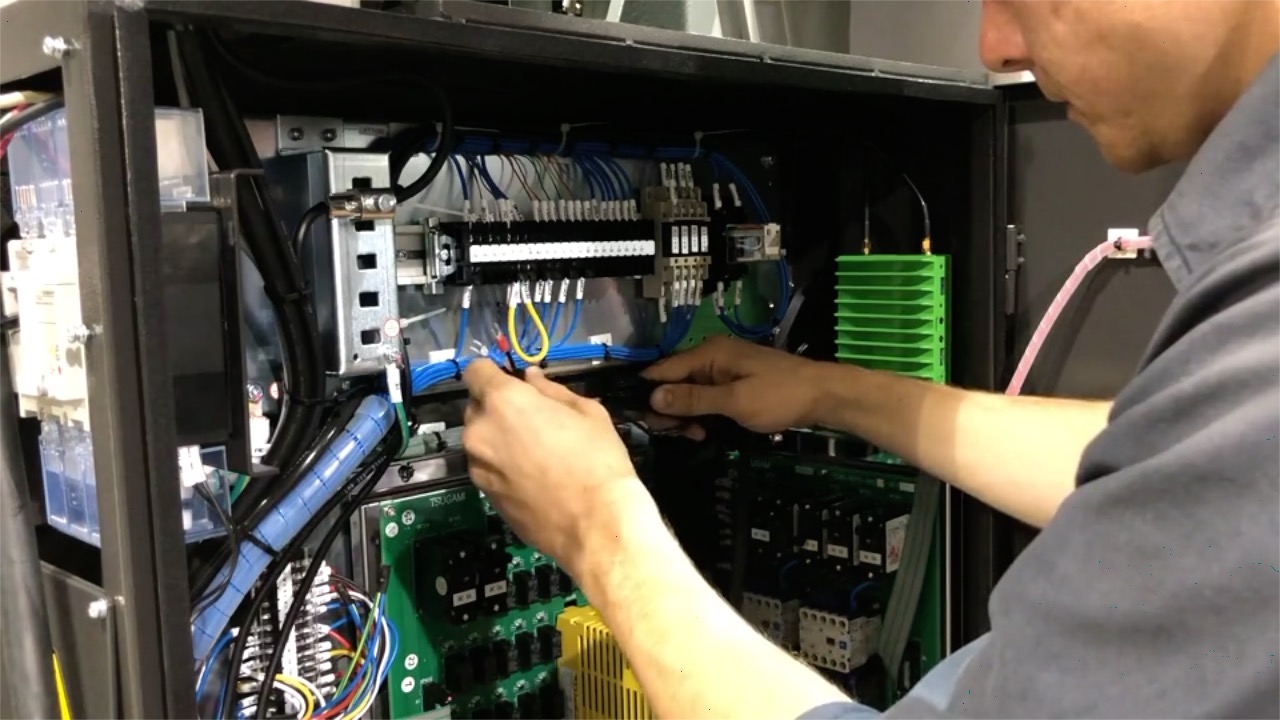
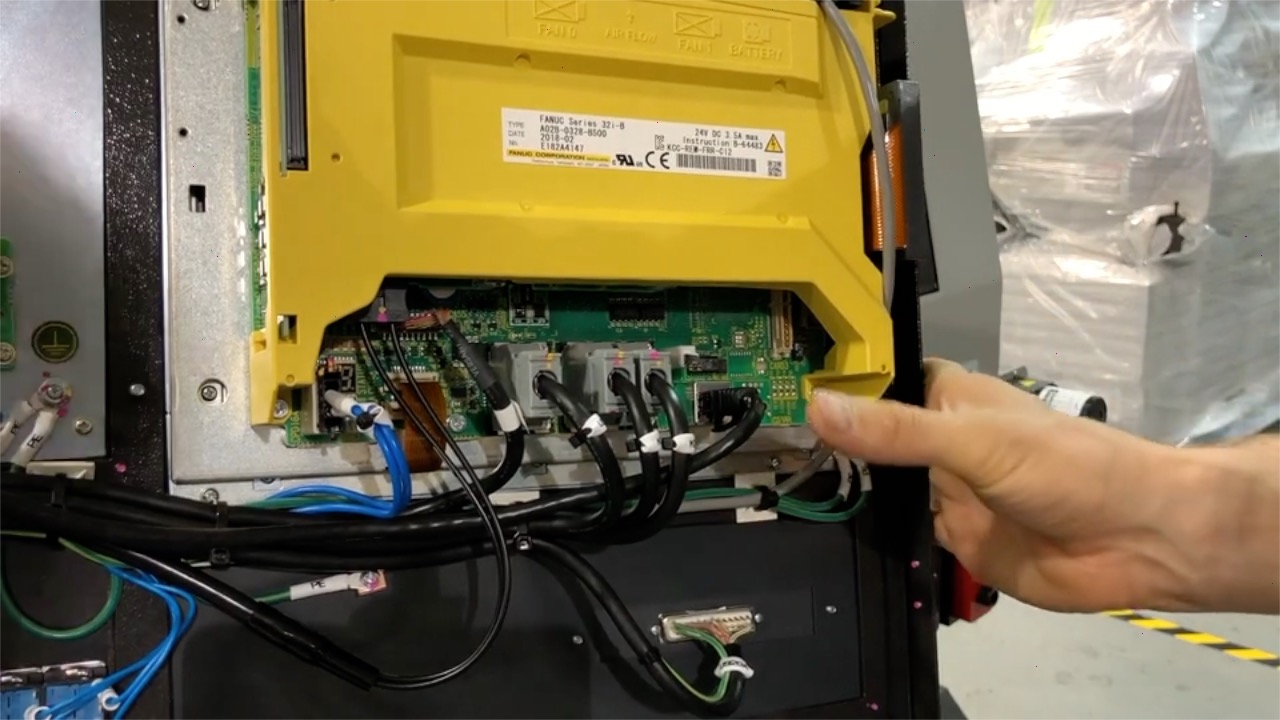
10. Run the ethernet cable into the control cabinet, and plug it into the embedded ethernet port. If you’ve needed to run the cable through an actuating arm or other moving parts, please make sure there is enough slack so that tension isn’t placed on either the edge device or the embedded port.

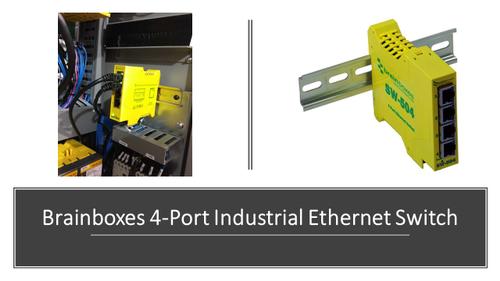
IMPORTANT: If the available ethernet port on your machine is already occupied with another ethernet port, you will need an Industrial Ethernet Switch; this piece of hardware plugs into the ethernet port and makes multiple ports available. If you alerted MachineMetrics that your ethernet port was already in use, we will have quoted you the cost if a Brainbox 4-Port Ethernet Switch, which will have shipped alongside your Edge Kit. If you anticipated your ethernet port would be free, you will need to provision an ethernet switch before you can complete your integration.
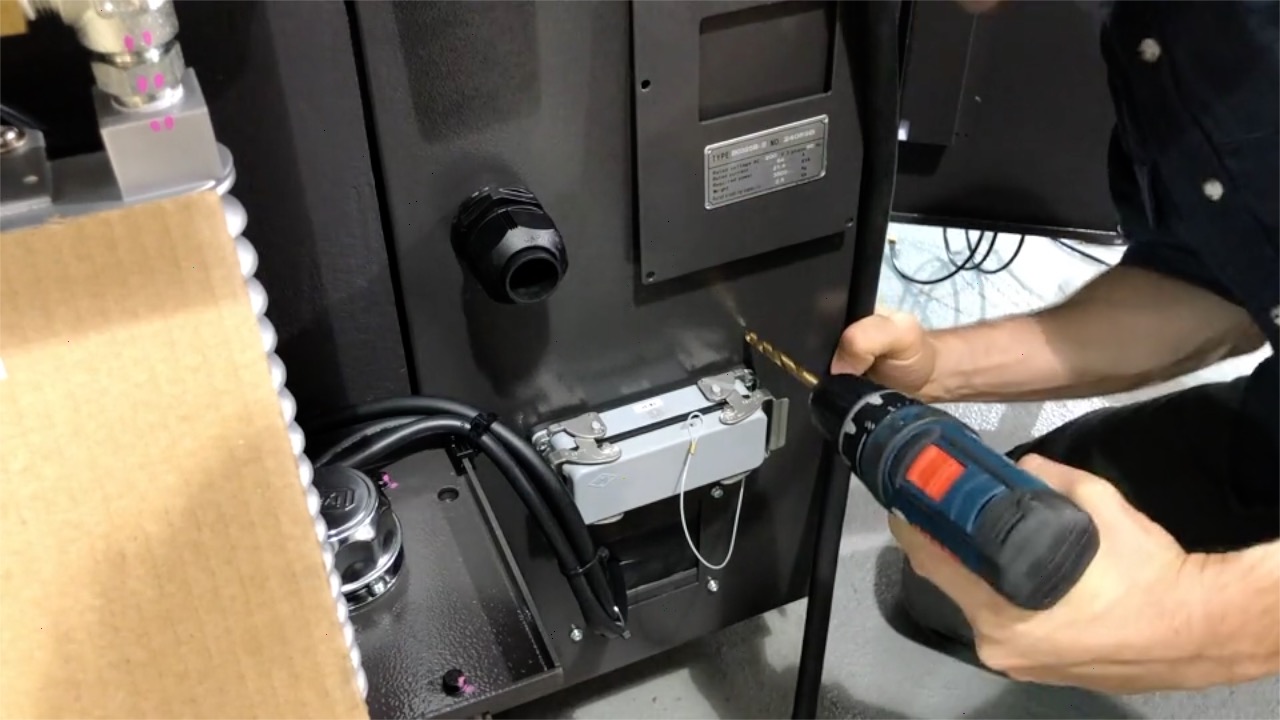
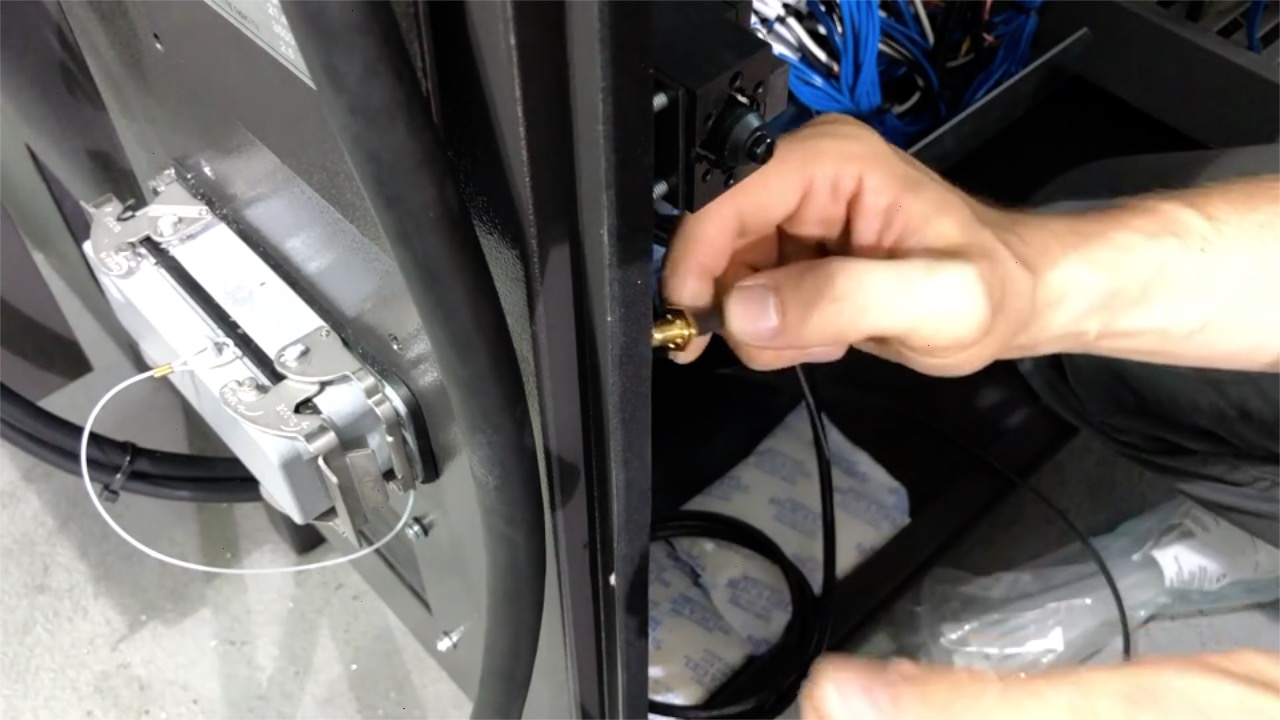
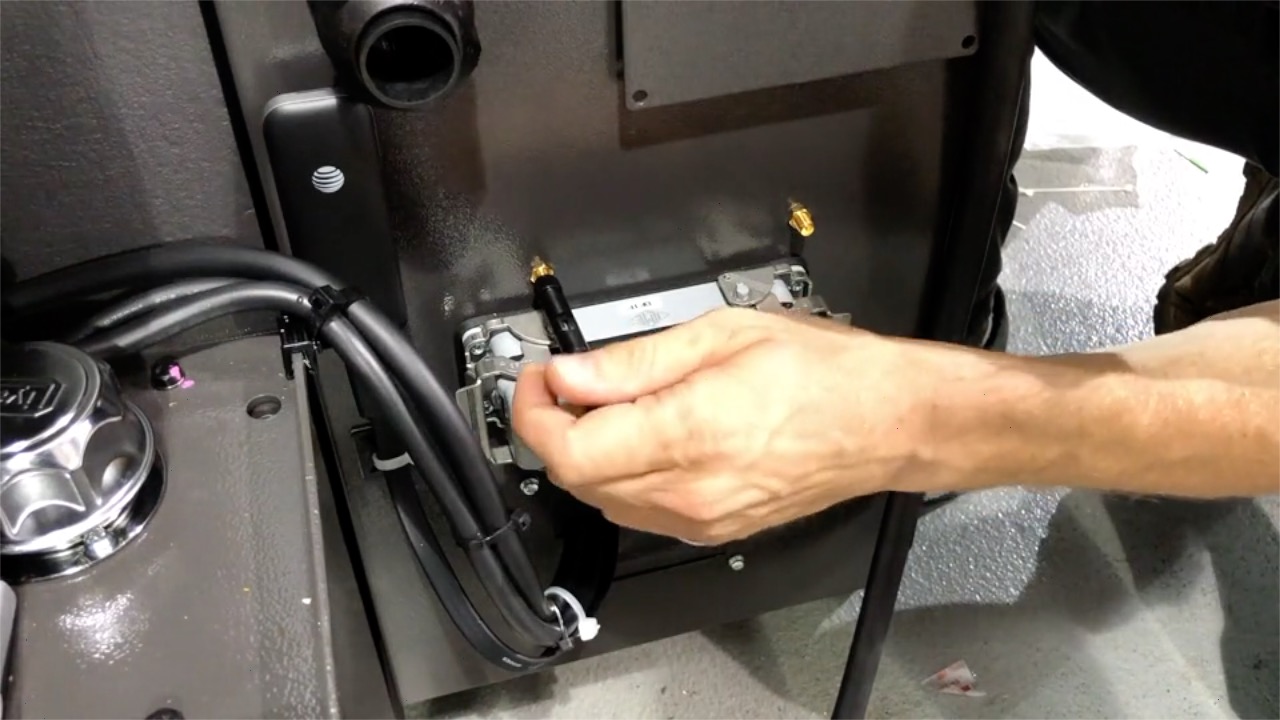
11. Drill two (¼’’) holes for the antenna. Be careful what is on the other side, and try to pick a spot that will provide a decent signal.
12. Affix the antenna cables using the Nut and lock washer. Use a nut driver to tighten.
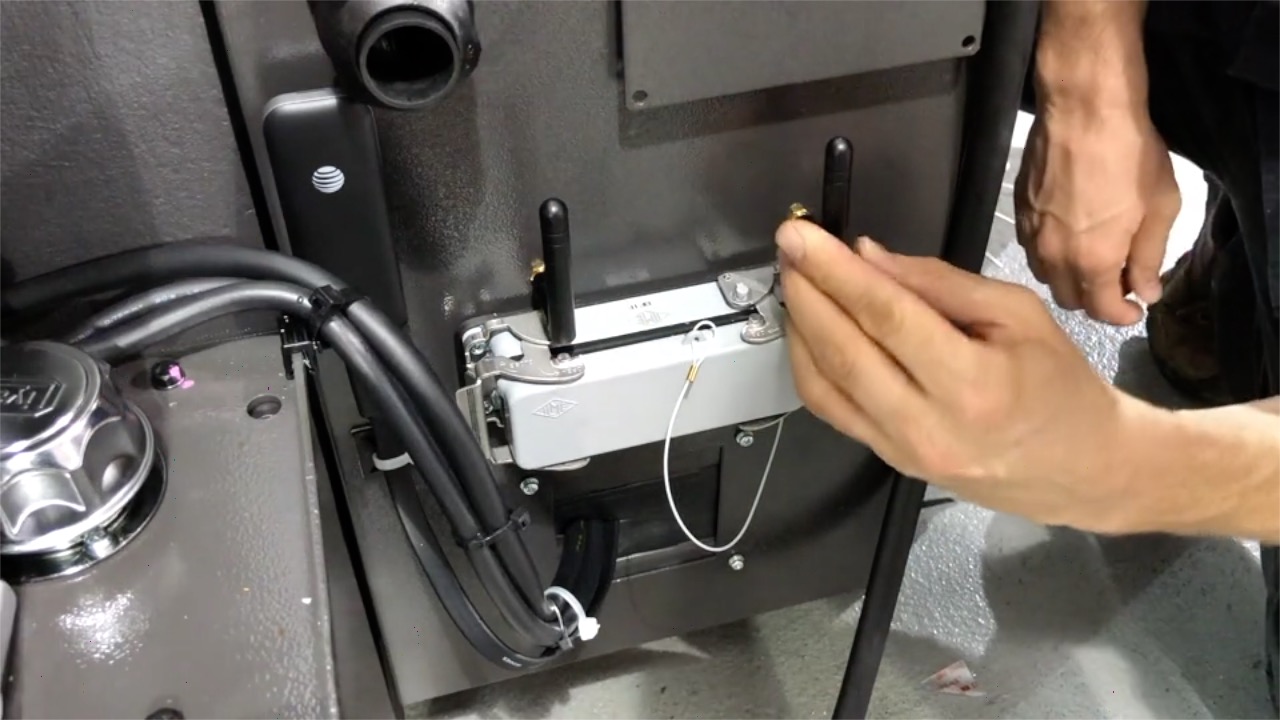
13. Attach the antenna as shown.
14. Power your machine back on, and confirm that all three lights on the Edge Device light up
Congratulations! You are one step closer to having fully integrated your equipment.
If you are following instructions for a specific machine make and model, you can now close out these instructions. Please return to the original article related to your unique machine and proceed with the instructions. Otherwise you can continue onto the 'next steps' listed below.
Next Steps
Configuring your Edge Device
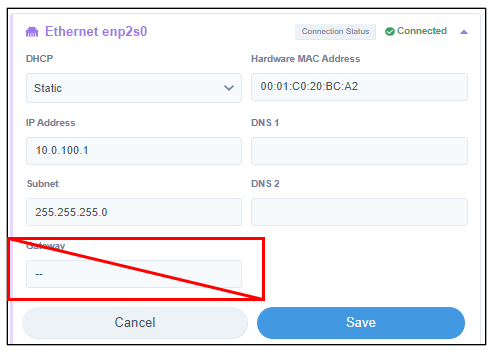
Important! The next necessary step will be to configure your Edge Device with your Network Credentials and IP address. Please visit the Edge Management Page. Of note with a WiFi connectivity method the configuration of Ethernet Port 1 or Port 2 should not have a Gateway addressed entered as it may direct traffic away from the Gateway specified in the WiFi Port configuration and attempt to connect to a non-existent internet connection through the machine.
For complete instructions go to the Edge Management Article before proceeding with the below instructions on enabling your machine Data Collection method.
Enabling Machine Data Collection
Once your Edge Device has been Configured, you can proceed to enabling the Data Collection Method that was determined to be the optimal approach for your Machine.
- If you are using FANUC FOCAS, your next step will be to enable FOCAS on your FANUC control.
- If you are using MTConnect, your next step will be to enable MTConnect on your control.
- If you are using an I/O module, your next step will be you install your I/O Module.
- If you are connecting a Citizen-Cincom Machine click here.
- If you are uncertain which data collection method you are meant to set up, please reach out to your Customer Success Manager, or contact support@machinemetrics.com or by phone at +1.413.341.5747x120.
Comments
0 comments
Please sign in to leave a comment.